- Welcome to Moving Electrons!/
- Posts/
- How to Backup Photos While Traveling With a Raspberry Pi - Part IV/
How to Backup Photos While Traveling With a Raspberry Pi - Part IV
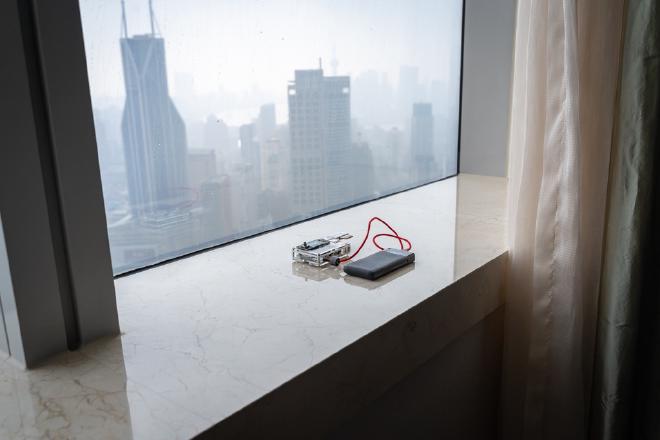
Background Information #
This is the fourth part - and perhaps the last one - of a series of posts on backing up photos while traveling using a Raspberry Pi (RPi) and iOS devices. Here are the links to previous posts.
- Part I: Initial setup and basic Python backup script.
- Part II: Using iOS today widgets to handle the backup process.
- Part III: Using the Raspberry Pi’s Sense HAT to handle the backup process.
Although each part ends with a perfectly working solution, subsequent parts built on the previous one, aiming at having a streamlined and easy-to-use process.
The general process continues to be the same:
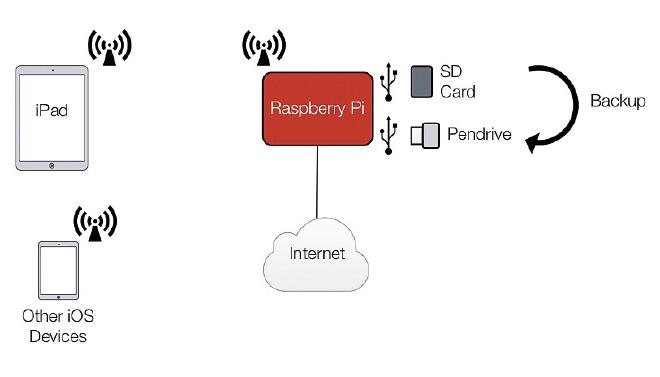
This part describes an incremental improvement that would make the whole process more streamlined and user-friendly: making the backup process completely independent from an iOS device, but still having the option of doing it manually by connecting through SSH.
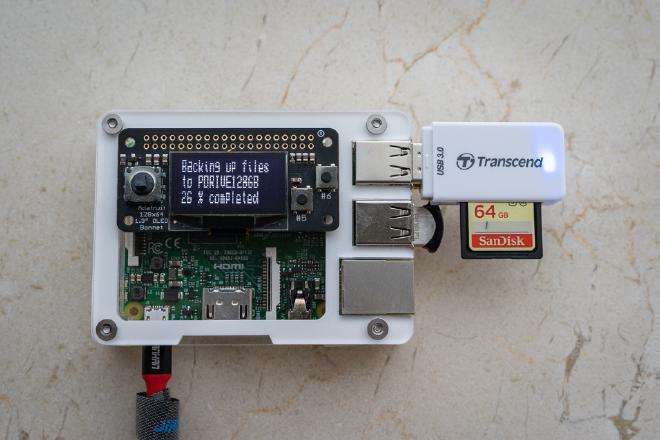
For this part, I have replaced the Sense HAT with Adafruit’s OLED Bonnet for Raspberry Pi. The bonnet was designed to fit on top of the Raspberry Pi Zero, but it also works on the Raspberry Pi 3. It provides a great interactive interface, it’s unobtrusive and it looks and works great on the Raspberry Pi 3 with the Zebra case.
Hardware Update #
Adafruit’s OLED Bonnet is the only additional item that is needed on the hardware front. Simply remove the Sense HAT and insert the OLED Bonnet in its place. That’s it!.
Software Update #
The project’s folder structure has been revised to accommodate the new workflow. Also, the main script was modified and new scripts have been added to make it easier to interact with the OLED screen.
All updated scripts are in the GitHub repository. The joystick_commands.py and backup_photos.py scripts are no longer needed and have been deleted.
Configuration and Usage #
Since the whole idea is for the Raspberry Pi to be a standalone backup device, the script controlling the OLED screen should be run at start up. To do so, the following line should be added to the rc.local file on the Raspberry Pi by typing sudo nano /etc/rc.local:
python3 /home/pi/scripts/python/menu/menu-oled.py &
Ideally, this line should be added right after the line calling the hotspot-boot.sh script (which function was explained in a previous post) and before the very last line (exit 0).
Once this is done and the device is restarted, a menu with the following options is shown on the OLED screen:
- Backup Photos.
- Statistics.
- Quit Menu.
- Shutdown RPi (on a second page).
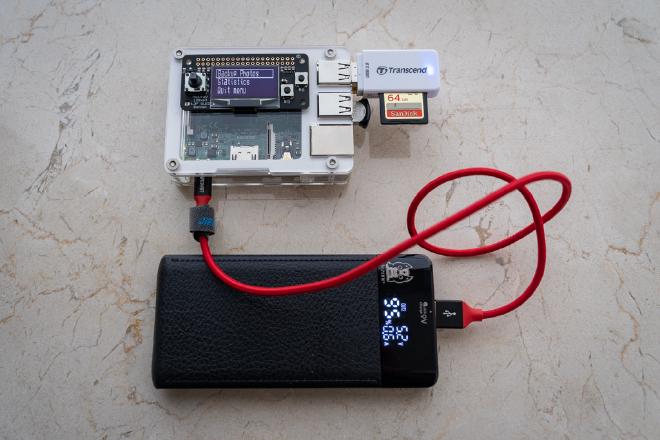
The Bonnet’ joystick is used to move up and down between options. Button #6 is used to make a selection, and button #5 to go back. It should be noticed that sometimes a selection or a joystick movement is not registered and needs to be done twice. I followed suggestions by Adafruit to prevent this behavior (i.e. introducing a small delay between readings), but the issue seems to be a persistent one.
Continuing with the menu options, the last two are self explanatory. The Backup Photos option executes the appropriate python script which asks which of the plugged (i.e. mounted) USB devices is the origin and which one is the destination. Once the selections are made, it starts copying files accordingly showing the completion percentage on screen. Once the backup process is finished, a message indicating so it’s shown on screen. Pressing button #5 goes back to the main menu.
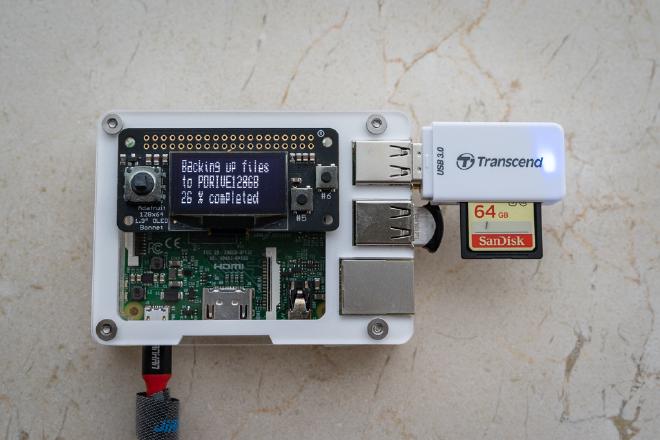
The Statistics option shows the following on screen: current IP (which is pretty handy when connecting via SSH to the Raspberry Pi), CPU usage percentage, used memory percentage and CPU temperature. Again, pressing button #5 goes back to the main menu.
Note
adafruit_oled.py script: it holds classes and functions used by other scripts in the package/project. It relies on Adafruit’s main python library and class for the OLED Bonnet. Since they have made the library general enough to interact with the other OLED screens they manufacture, a lot of repetitive code was needed to initialize objects on other scripts. All that repetitive code was moved to this file.
3D Printed Cover #
Although Adafruit’s OLED Bonnet is a one-of-a-kind device that opens up a world of possibilities for the Raspberry Pi, once installed, it can be a pain to carry around as the joystick protrudes significantly and either gets stuck to soft cases or it’s constantly being pressed when in transit.
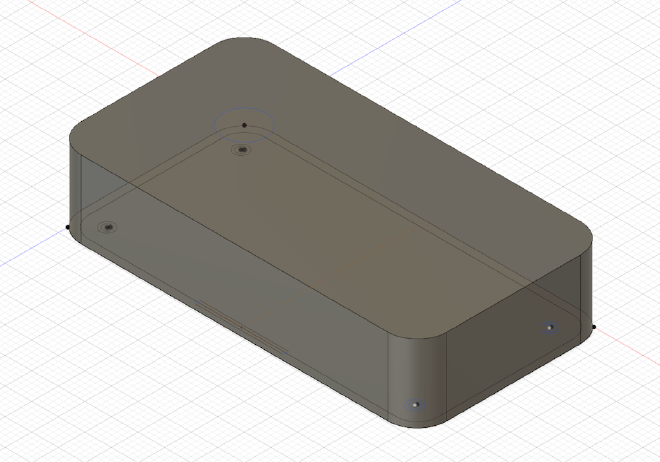
To prevent that, I designed a 3D printed cover that goes on top of the Bonnet and protects it from the surroundings. It’s not designed to snap snuggly or by applying pressure, as that can damage both the Bonnet and the RPi’s GPIO header.
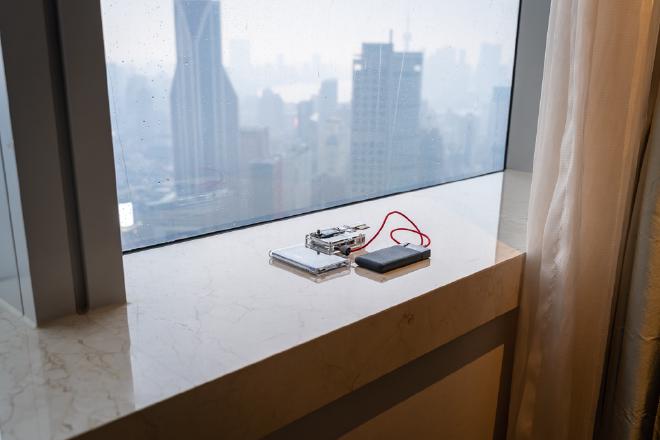
I’ve been using this backup procedure for months and it has proven to be very stable and reliable. The only downside is that it might be a bit slow when copying large SD cards, but that’s a limitation of the Raspberry Pi as it uses USB 2.0 instead of USB 3.0. Hopefully they’ll fix that on the next iteration (Raspberry Pi 4 ?).
Feel free to leave a comment below if you have any questions.