Background Information
This is the third part of a series of posts on backing up photos while traveling using a Raspberry Pi (RPi) and iOS devices (here are both Part I and Part II). Although each part ends with a perfectly working solution, subsequent parts built on the previous one, aiming at having a streamlined and easy-to-use process.
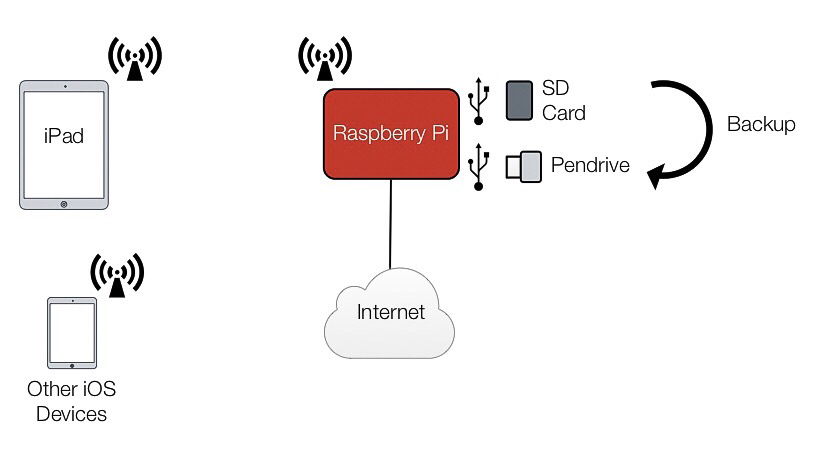
The general process continues to be the same:

This time, I had 3 clear objectives in mind:
- Make the whole workflow less dependent on an iOS device, but still having the option of doing it by connecting from an iOS device.
- Check the backup status at a glance. As explained in Part II, we can check if the backup process has ended by running a Pythonista script on the iPad. But for that, we would need to be connected to the RPi. I wanted a more straight forward way of checking if the backup was finished or still in process.
- Turning off the RPi without needing to connect to it.
These requirements raised some challenges as there is no way to interact with the RPi other than connecting to it, unless additional hardware is installed.

What’s Needed
Hardware
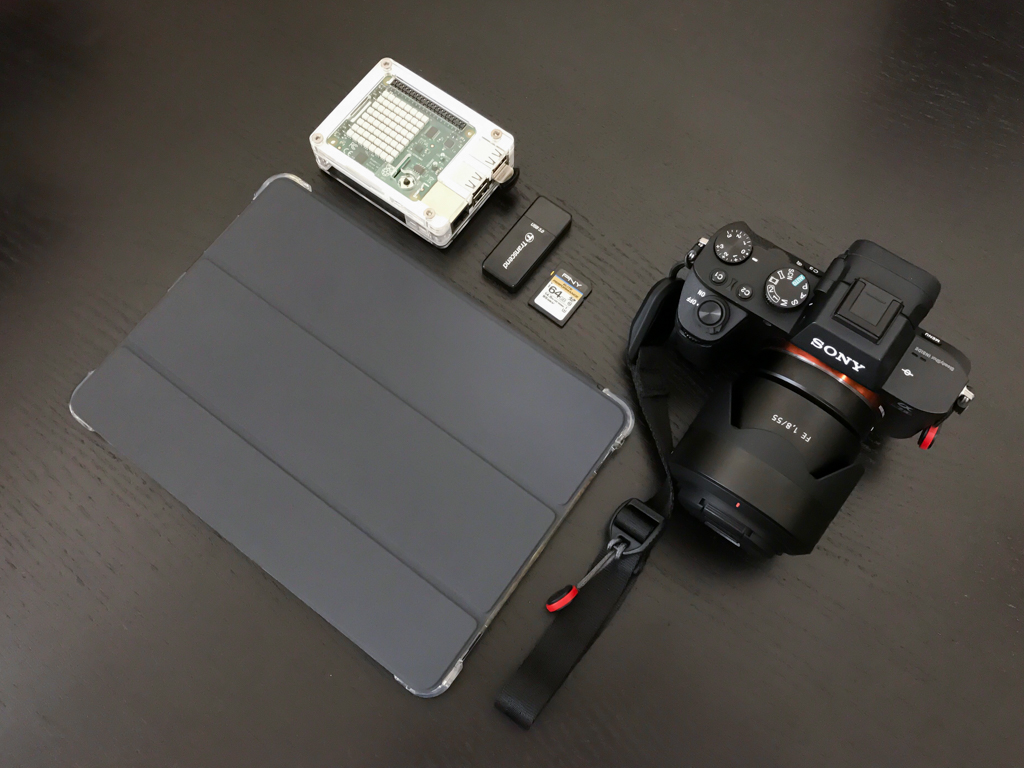
- Sense HAT. Truly the start of the show, see below for more details.
- Zebra case for Raspberry Pi. Because, why not adding some style to our project?.
- Zebra case add-on for Sense HAT.
Software
- Modified scripts from Part II.
- New script for powering the RPi off.
Assembling The Pieces
The Sense HAT will be our interface with the RPi. It’s part of the AstroPi project (the project that allowed UK schools to run experiments in space). It bundles an 8x8 color LED matrix, a mini joystick and a ton of sensors (barometric pressure, humidity, temperature, accelerometer, 3D Gyroscope and magnetometer).
The HAT comes with a pin header which connects it to the RPI’s GPIO, so it rests securely on top, no soldering required. In this post, we’ll be using it to command the RPi (through the joystick) and show information on the LED matrix.
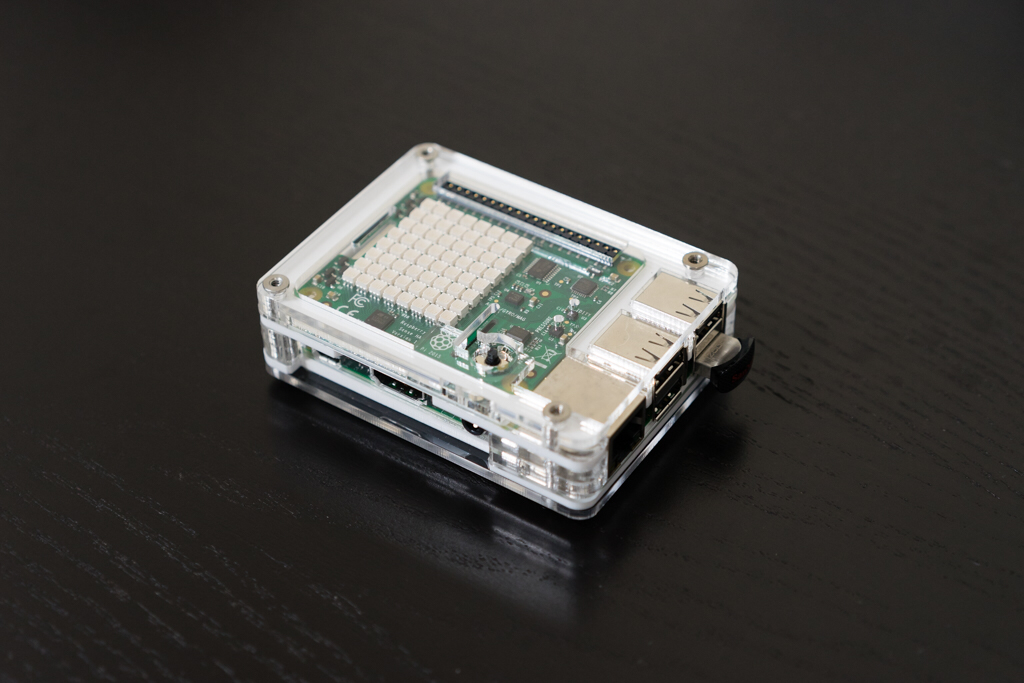
The Zebra case is supposed to be put together in a layer-by-layer. Just follow the instructions included in the package. Once everything is in place, this is what the RPi looks like:

If just looking at it is not enough to get your nerd juices flowing, you must have cold water running through your veins. I could just put it on my desk and stare at it for hours.
Software
I’ve uploaded the scripts to a GitHub repository, so feel free to download them and check them out. There are two main scripts:
backup_photos.py script
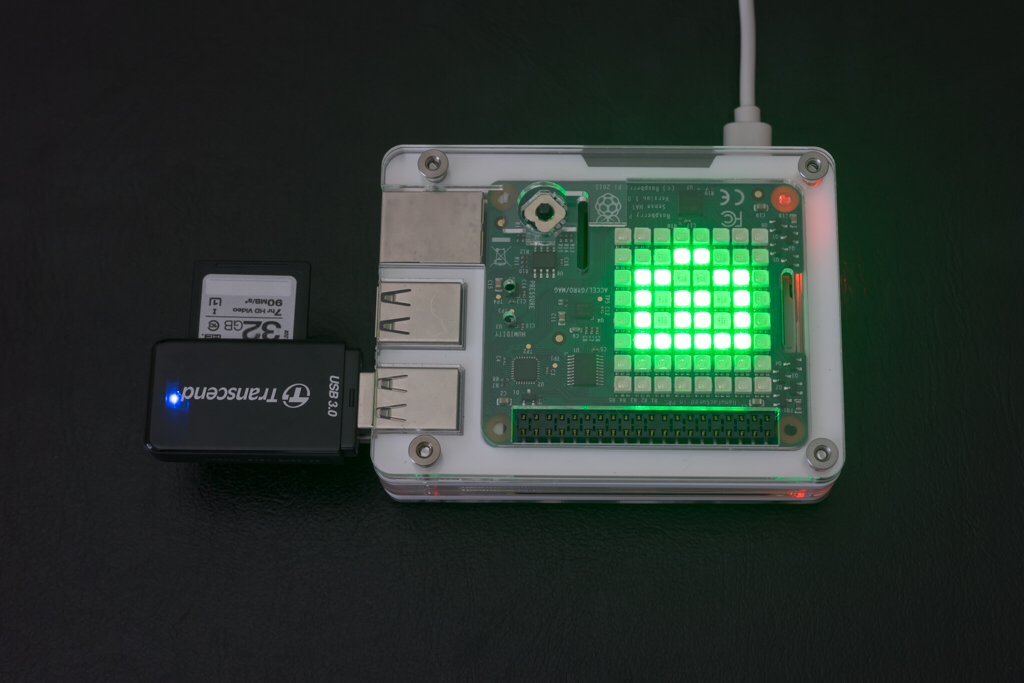
The backup_photos.py script shared on Part II was improved and revised to include the code handling the LED matrix and joystick. Thus, when executed from the iPad through the Pythonista script and while the backup process is ongoing, the LED matrix will show a white camera image (or something that looks like it, I did my best with the 8x8 matrix). If there is an error, the camera will turn red and if the backup process finished successfully, the camera will turn green, as seen below.

Since the Pythonista script is just needed to fire up the script on the Raspberry Pi, the iOS device can be disconnected afterwards and the task will continue running on the RPi.
Not much additional configuration needed other than what was already explained on Part II. Keep in mind you need to configure the script Constants per your particular case (lines 125 and 126):
CONFIG_FILE = '/home/pi/scripts/photos/backup_photos.conf'
SPEED = 0.03
These two lines tell the script where the configuration file is located and how fast the message will be shown on the LED matrix.
**joystick_commands.py_ **
This script should automatically be executed when the RPi boots and will keep running in the background. There are several ways to accomplish this (more information here). I did it by editing the rc.local file with sudo nano /etc/rc.local and including the following right before the line that reads exit 0:
sudo python3 /home/pi/scripts/system/joystick_commands.py &
The script will run in the background and will execute a task whenever the joystick is pressed in certain direction for a predefined number of times. By default it does the following:
3 presses down: shutdown Raspberry Pi. 2 presses up: turn off/clean up LED matrix.
Both the direction and number of presses can easily be modified by setting the appropriate parameters in the script header, in the following section:
# Commands definition

# Shuts down Raspberry Pi.
DIRECTION_1 = 'down'
TIMES_1 = 3

# Turns off LEDs.
DIRECTION_2 = 'up'
TIMES_2 = 2
Also, the script can be revised to execute other tasks, just add additional functions at the top and modify the While statement accordingly.
The End Result
Below is a video showing how to interact with the Raspberry Pi and the way Python scripts are run:
After plugging the camera’s SD card and USB Pen drive (or hard drive) into the RPi per Part II, the backup script in initiated from the iPad. After it is finished (as indicated by the green camera image), the LED matrix is turned off by moving the Joystick up two times (this is obviously optional). Finally, the joystick is moved three times down to turn off the Raspberry Pi.
I’ve been using this setup for some weeks now and it has proven to be very reliable and more user friendly than the previous version. As always, feel free to post your questions or comments below.